Nail String Art - DIY Christmas Tree Ornaments
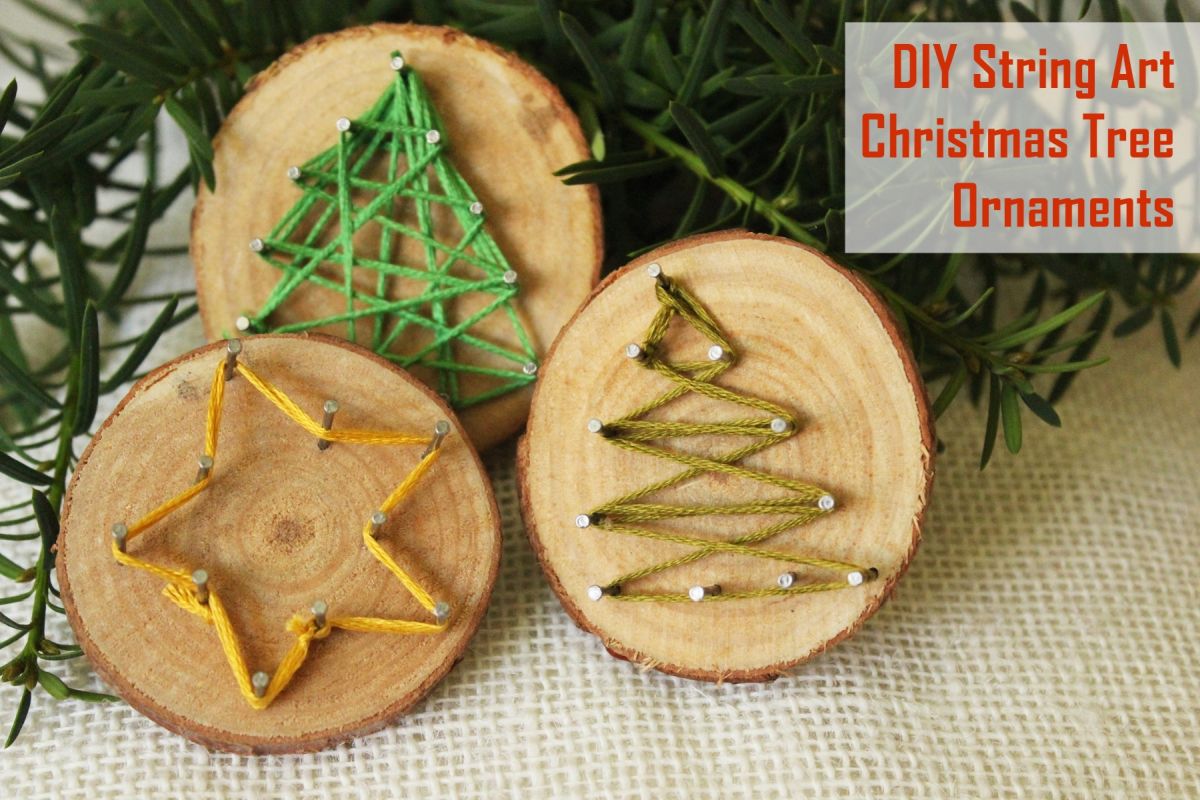
For those of you who are tossing out the crazy anarchy and replacing information technology with sweet simplicity this holiday season, you're going to want to check out this nail string art DIY Christmas tree ornaments.
 View in gallery
 Not simply are they fast and fun to make, but they also are a perfect blend of old-time nostalgia and contemporary memory makings. They're so simple, I'm sure y'all can effigy out how to make them. But hither's a tutorial, just in case.
 View in gallery
  View in gallery
 Materials you lot'll need for boom cord art Christmas tree ornaments:
- Woods rounds
- Modest nails
- Hammer
- Needlenose pliers
- Embroidery floss
- Hot glue + newspaper clips (to hang the ornaments on your tree)
How to make rustic Christmas tree ornaments with string art:
 View in gallery
 Christmas Tree string art pattern, Version 1
 View in gallery
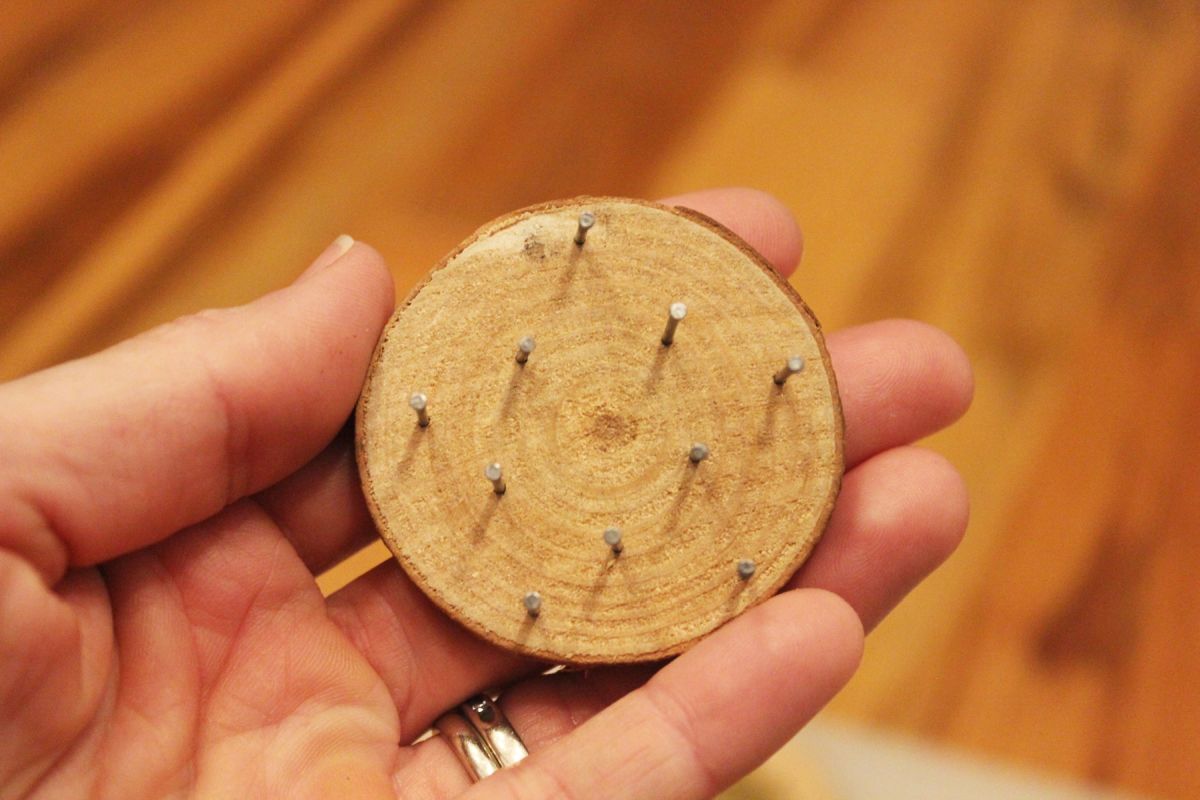
 Begin by deciding what shape(s) you want to make. So advisedly hammer in the first nail, taking care that it doesn't get out the wooden round on the back side.
 View in gallery
 To make a Christmas tree shape, simply pound in some nails in a triangle shape.
 View in gallery
 When all the nails are installed into your wood round, tie a loop at the stop of your embroidery floss. Don't pull information technology tight yet.
 View in gallery
 Loop the knot around the top nail (or whatsoever nail makes you happy), then pull it tight. Tie a second knot to make a double-knot on your boom.
 View in gallery
 You tin can trim the actress string next to the knot or leave it to weave into your string fine art. If the figure is going to take lots of strings, leaving it long volition be fine (it will blend in). Simply if your string art is more than thin, y'all should probably trim information technology.
Related:DIY Christmas Ornaments And Decorations With Ambrosial Designs
 View in gallery
 Showtime stringing the floss.
 View in gallery
 When you've completed the string fine art figure, marker the spot on your floss where the concluding loop/knot should be. Make a loop there.
 View in gallery
 Use needlenose pliers to tighten the loop knot, then add together in a double knot on tiptop of that. Trim the floss about 1/iv″ away from the knot.
 View in gallery
 There you lot have it. If you have a shape yous similar, such as this tree, you might consider making many of these, but make them dissimilar with slightly varied shades of embroidery floss.
 View in gallery
 Christmas Tree cord art pattern, Version 2
 View in gallery
 This tree has the same outline every bit version 1 (a triangle), only the stringing is more like traditional string fine art, flowing somewhat randomly through the center of the tree. A brighter green floss gives the woods round decoration a different aesthetic, as well.
 View in gallery
 Little Star string art pattern, Version 1
 View in gallery
 Yous could pound in merely five nails and create a star shape. This example, however, uses ten nails so that the star silhouette is equally simplified as possible.
 View in gallery
 String the floss outside the star points and inside the star troughs to create the shape.
 View in gallery
 Once again, needlenose pliers volition come up in quite handy for starting/stopping your embroidery floss knots. Considering the cord art nails are so tiny and close together, information technology'southward difficult to get fingers in there and yet proceed everything in identify. Achieve the pliers through the loop, and take hold of hold of the stop of the floss.
 View in gallery
 Pull the pliers (and, consequently, the floss) dorsum out through the loop. Echo for a double knot, then trim.
 View in gallery
 Little Star string art pattern, Version 2
 View in gallery
 For a more traditional Star of Bethlehem, consider creating a four-point star, with the bottom signal being much longer than the other three.
 View in gallery
 Use the same star-stringing strategy, with the floss going outside the nails at the star's points, inside the nails at the star'due south inner angles.
 View in gallery
 Christmas Dear
 View in gallery
 This could double every bit a Valentine'south Twenty-four hour period ornament (for those of you who decorate Valentine's Day trees?), but it fits in beautifully at Christmas time every bit well.
 View in gallery
 To solidify the overall shape earlier you commence your stringing, use the floss all the way effectually the perimeter nails. So start stringing them more randomly through the center of the shape.
View in gallery If you want to hang these DIY string art ornaments on your Christmas tree, just hot mucilage a newspaper prune onto the dorsum of each wooden circular, and hang information technology up. Enjoy, and marry Christmas.
Source: https://www.homedit.com/string-art-christmas-tree-ornaments/
0 Response to "Nail String Art - DIY Christmas Tree Ornaments"
Post a Comment